We did a fun David and Goliath Unit Study for our Bible class. It included a retelling of the story by candlelight, a dramatization, and fun crafts and hands-on projects to bring to life this famous Bible story.
David and Goliath Unit Study
1. Read or re-tell the story of David and Goliath.
First you will want to read or retell the story from I Samuel 17:31-58. It’s easiest just to read it, but one year I lit a candle and told the story to a group of boys in Cub Scouts. I talked in a hushed voice as I described the fear the Israelite army had when they looked at Goliath. I described how large he was, and that he looked impossible to beat. As a complete opposite character, David was young, inexperienced, and without armor. Who would win the battle? The boys held their breath in anticipation, even though they knew the story, because the firelight was flickering off the walls, and they were scared.
To refresh your memory, you can watch this 4-minute video:
2. Dramatize the story.
Even if you have no costumes or props, you can have your kids re-enact the story of David and Goliath. Have one tall kid stand on a chair. If you have some plastic armor, you can put that on him. Then have David wear a simple tunic, with 5 smooth stones in his pouch. The sling can be a thick strip of soft leather.
3. Make a slingshot.
If you want to make a modern-day slingshot, just find some forked sticks outside and use rubber bands to fling marshmallows across the room. But the slingshot back in Bible times looked more like a strip of leather tied together in a loop, and you would put the rock (or marshmallow) into the strap and sling it around. You can find a tutorial on how to make a cool slingshot here.
4. Measure out how tall Goliath was.
Measure out 9 feet on your wall, and make a large butcher-paper giant. Then have your kids stand beside it to see how large this man really was. You can simplify by stapling colored paper to the wall without drawing a giant in armor.
5. Listen to the song “Only a Boy Named David.”
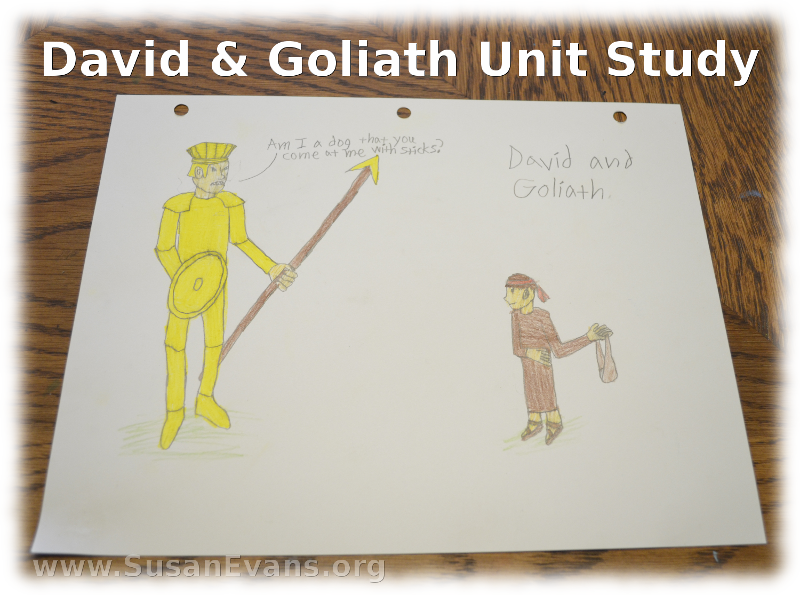
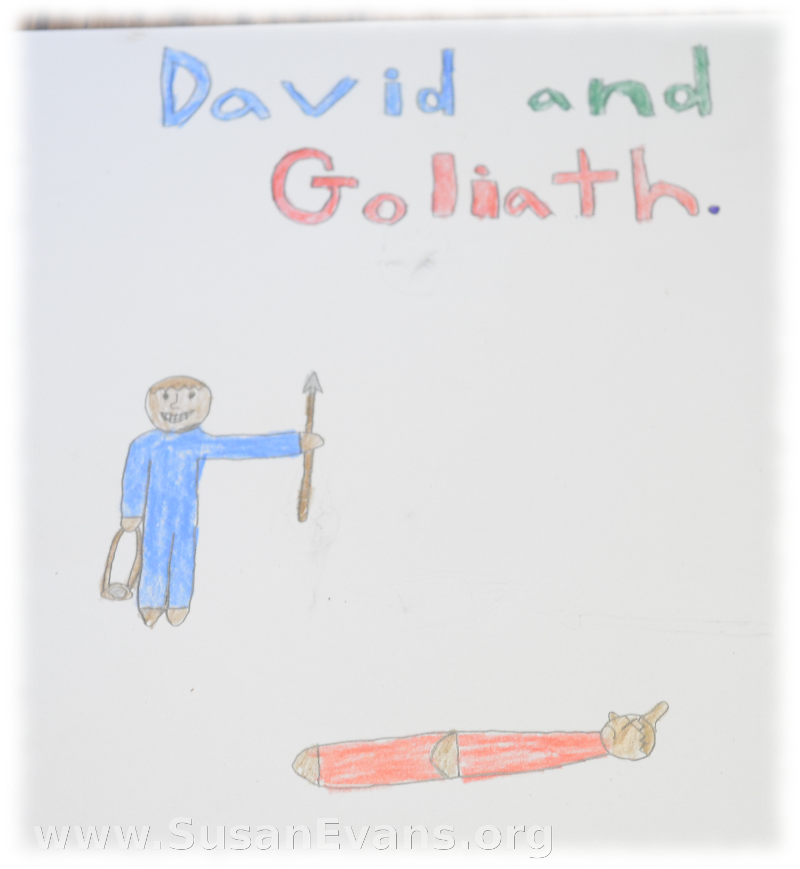
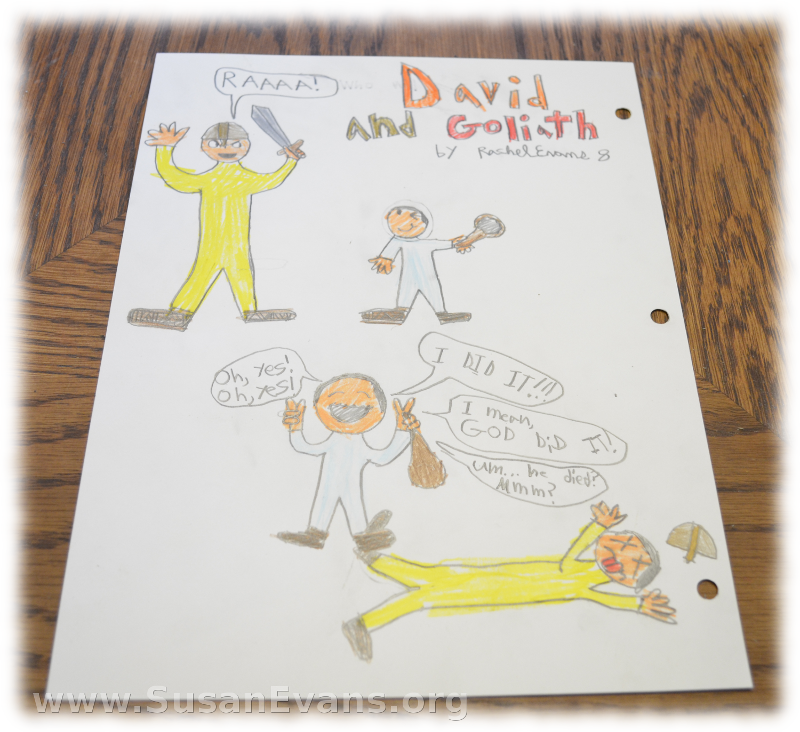
6. Draw pictures to illustrate the story.
The kids can draw a picture of either before the giant fell, during his fall, or after he was down. They could even make a cartoon strip of each stage. My kids once made a flip book with the story of David and Goliath, where the stone came little by little out of the slingshot and toward Goliath’s head until he fell. There were about 12 pencil sketches stapled together, and you flipped the pages to see the action.
7. Talk about how you can overcome any obstacle if you have faith in the Lord.
God is greater than our enemies, and He controls all the atoms in the universe. When we trust in the Lord, He does mighty things in our lives.
Sign up below for a free Bible crafts e-book!
If you enjoyed this David and Goliath Unit Study, you will love all the other Bible unit studies inside the Unit Study Treasure Vault. Bring Scripture to life for your kids with every book of the Bible!
Tags: Bible class, David and Goliath, drawing, Sunday School


This is great & simple..thanks for sharing 🙂
My kids have always loved this story!