How to Grow a Hydroponic Herb Garden

July 12th, 2022

hydroponic-herb-garden

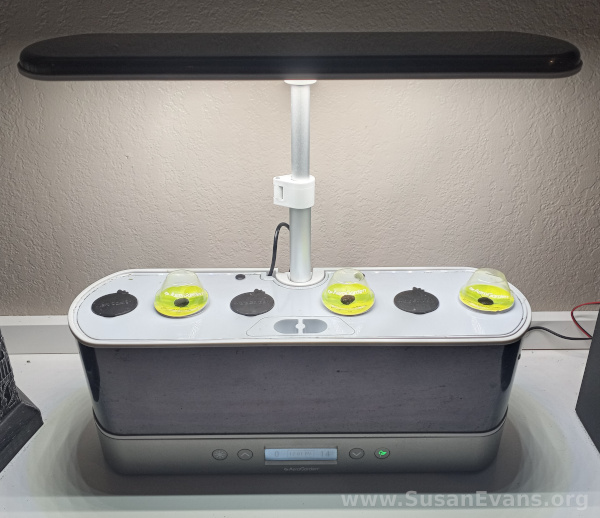
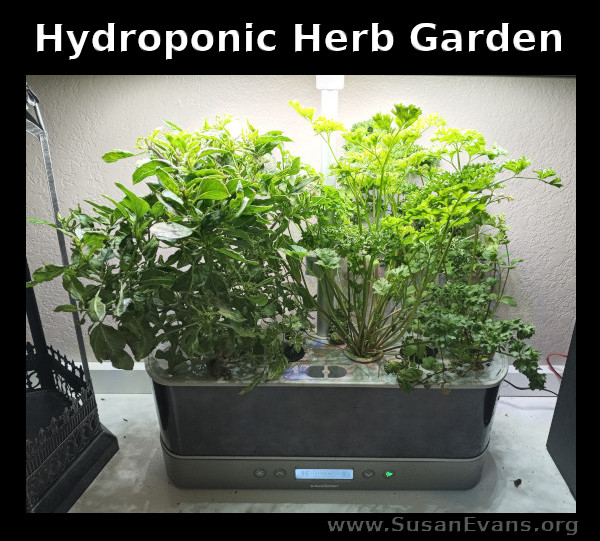
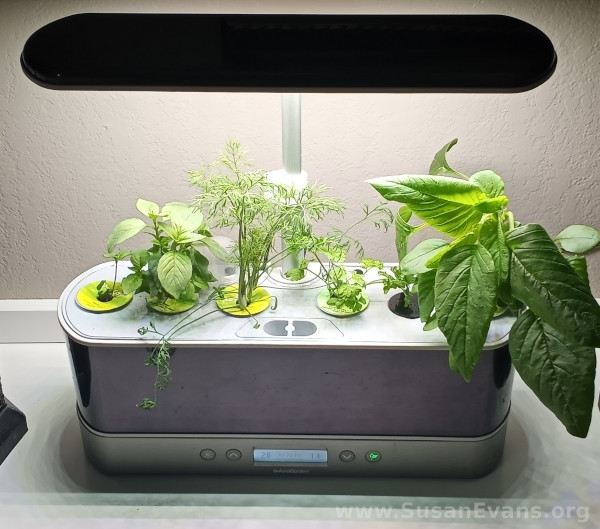
The plants in this hydroponic garden grow directly in water… with no soil. Every two weeks, the little green light on the bottom turns red to remind you to put two capfulls of plant food into the water. Other than that, you just top off the distilled water each day, and you get lucious herbs. Simple.

herbs-in-hydroponic-garden

My husband got me this one from Costco, but you can get them various places and under different brands. What they have in common is that they have pods that you place into the water. These pods contain seeds which germinate when placed in water under a grow light. The grow light on this model (Aerogarden) is adjustable. You place it lower when the seeds are germinating, and as they grow taller, you raise the light higher.

How to Set Up Your Hydroponic Garden

Here is a tutorial on how to use your hydroponic herb garden:

As you can see, you fill the container with distilled water, so as not to crust over the system with harsh chemicals from tapwater. Then put the lid on, and place the herb pods into the circles.

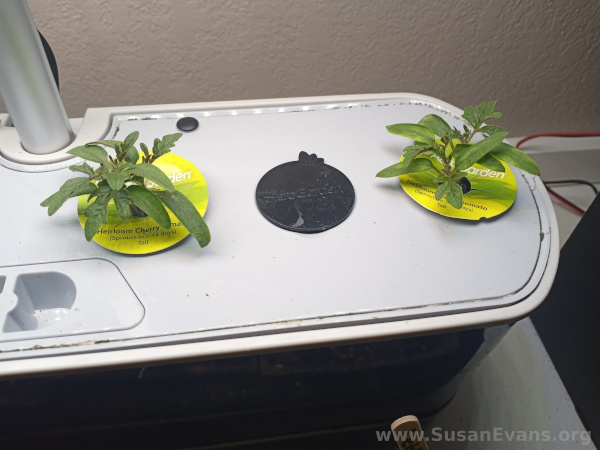
herb-pods-for-hydroponic-garden

Place the little “greenhouse” over each pod until they sprout. Then remove the “greenhouse,” allowing the plant to grow taller.

tomato-pods-in-water

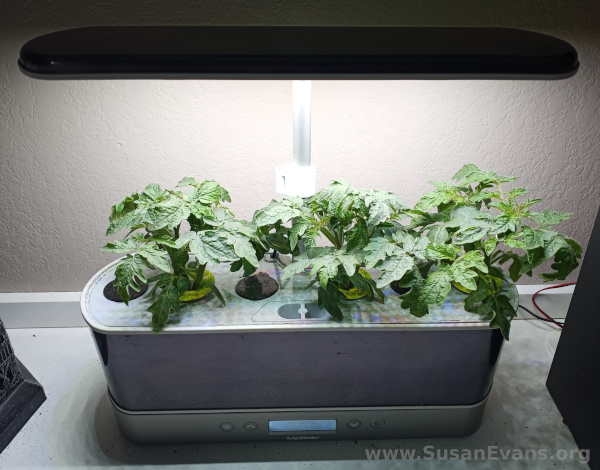
When the herbs are so tall that they touch the light, they need to be trimmed or transplanted to another container or outside.

tomatoes-hydroponic-garden

So far we have grown herbs (including basil, parsley, and mint) and some cherry tomatoes. It’s fun to add some greenery to your home, and to have herbs available to clipping and throw into your cooking!
Starting Vegetables from Seeds

May 10th, 2022

starting-vegetables-from-seeds

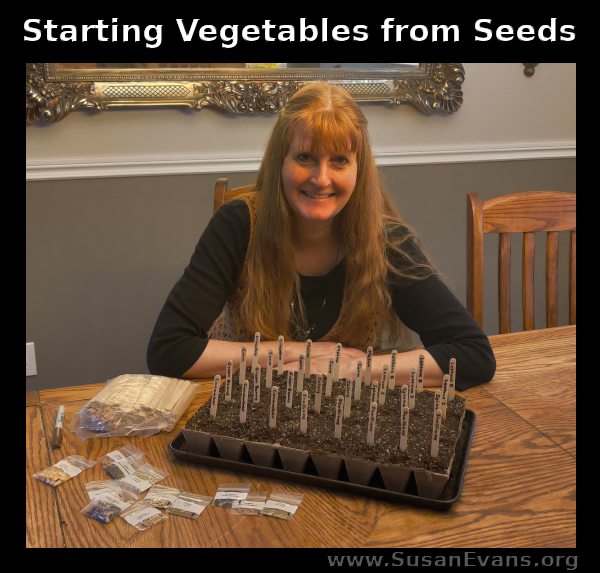
It’s been a while since I’ve started vegetables from seeds, so I thought I would try it again this year. We planted these back in March, so now that it’s May, we have transplanted the seedlings outside. We filmed the entire process, giving tips along the way. Make sure to check your weather forecast to make sure that it will not freeze overnight in your area before transporting the plants outside.

I show you in this video the whole process of starting vegetables from seeds:

  • We planted the seeds in seed trays, using seed starting mix instead of regular soil, because the seed starting mix keeps moist better. You can use old yogurt containers or other small containers instead of seed trays.
  • Make sure to have a grow light, which has the full spectrum of sunlight so that the seeds can get off to a good start. Otherwise you can place them in a sunny window.
  • Put cellophane over the rows of seeds, to keep the seeds moist and to cut down on the amount of times you need to water them.
  • Use a spray bottle to water, so that the seeds don’t get washed away.
  • Some seeds grow faster than others. Some take a few weeks to germinate. As you can see in the video, the green bean plant sprouted high above the others, reminding me of the Jack and the Beanstalk story!

Starting Vegetables from Seeds (video tutorial)

After a couple of months, you will want to transplant the seedlings outside. Some of the plants were getting too tall for the grow light, but the frost outdoors hadn’t passed yet, so I just transplanted the taller seedlings into larger containers and placed them in a sunny window.

transported-seedlings

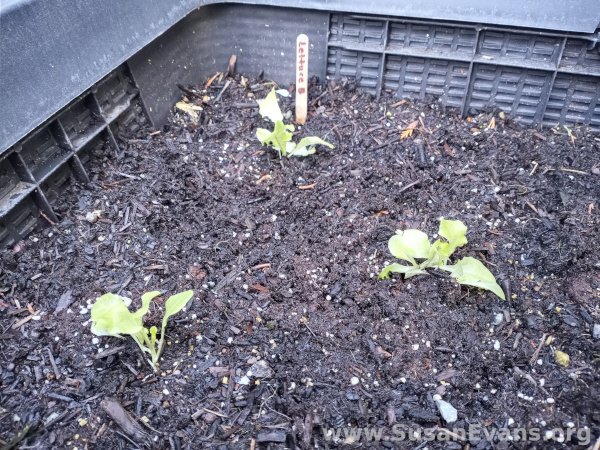
I have a raised garden bed in partial shade, so I chose veggies that like the shade, such as lettuce and spinach, to plant in it. Then I set up a trellis next to my house, and I planted the climbing varieties of vegetables along the trellis. Green beans, for example, need a structure to climb up. You might want to stake those up with a wooden shishkabob skewer like I did in the house in the sunny window, using a twist tie to make sure they don’t fall over.

Growing your own vegetables is a great way to eat healthier and tastier food. I will be growing an even larger vegetable garden next year!

Spring Clean a Messy Drawer

April 24th, 2022

spring-clean-a-messy-drawer

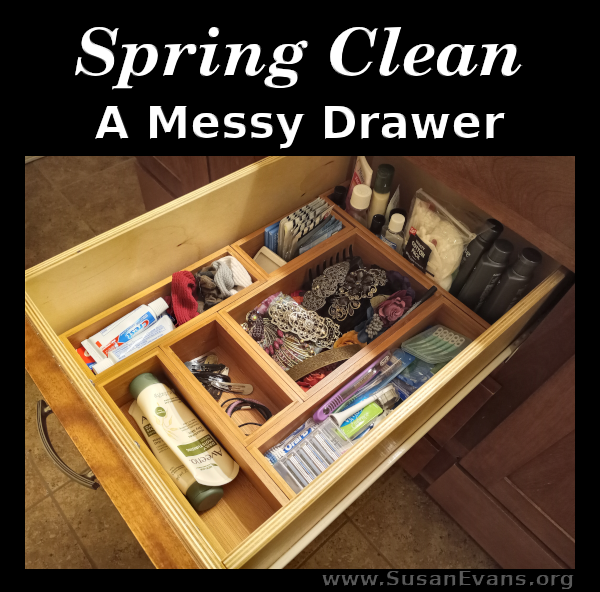
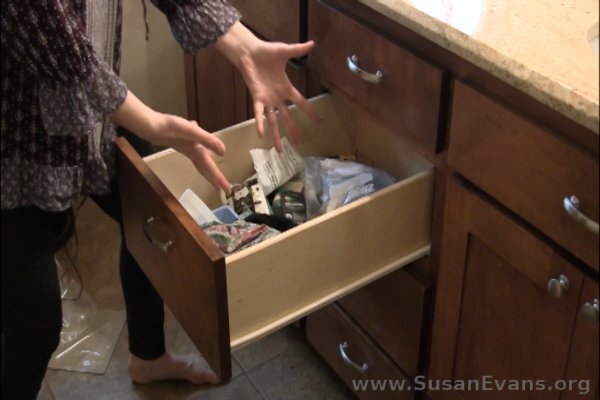
Everyone I know has at least one junk drawer. Drawers can be hard to organize without dividers of some kind, especially if you have a lot of smaller items. Good places to have drawer dividers are bathrooms and kitchens. Today I will show you how to spring clean a messy drawer, and I will use a messy drawer from my bathroom to give you an idea for how to section off objects that are similar so that those items are easier to find.

Not only will you save time in finding the objects that you own, but those objects will be better taken care of, because they will not be thrown and manhandled while jostling around in the drawer. Eyeshadow, for example, when tossed around, can break and will require more money to replace because of rough treatment. Eyeliner pencils can break inside when tossed around also.

The first thing you will want to do is empty the drawer completely. Clean out the drawer with a damp cloth, and then dry with a paper towel. You will want to have dividers of some kind, either a drawer organization system like I show you in the video, or a wooden silverware tray that I also show you in the video. Or you can use small boxes, bins, or baskets to place inside your drawer to contain your items so they are not bouncing around.

messy-drawer-organization

After emptying and cleaning the drawer, and placing the containers in the drawer, you can look at all your items and get rid of everything you are not using. Either toss it in the trash, or give it so someone who would appreciate it. With fewer items, it’s so much easier to organize.

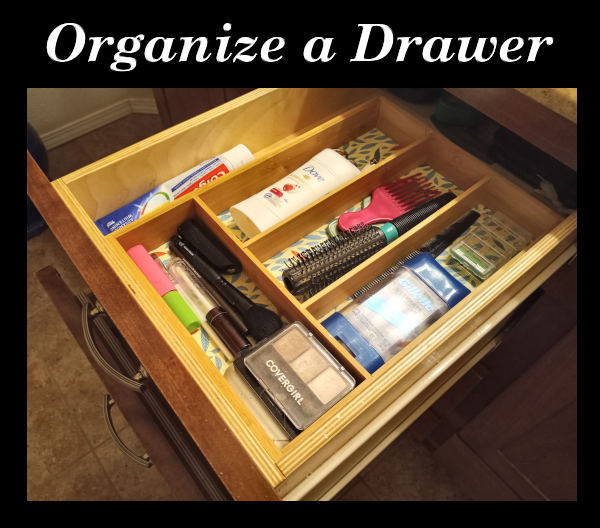
With the remaining winning items that you like and use the most, organize them into like categories. For example, all the small bottles were placed in the back of my drawer, standing up, and they were easier to see. My smaller hair clips were easier to find when I had a whole separate container for them, placing the larger hair clips and headbands in another section. Extra toothbrushes and floss can go together, as well as makeup having its own divider.

organize-a-drawer

Hopefully by spring cleaning a messy drawer, you can feel refreshed and less bogged down by life, feeling tranquil and and good about yourself each time you pull that drawer open!

To organize your entire house and homeschooling supplies, check out Organizing for a Fun Homeschool.

Umbrella Star Chart

March 12th, 2022

umbrella-star-chart

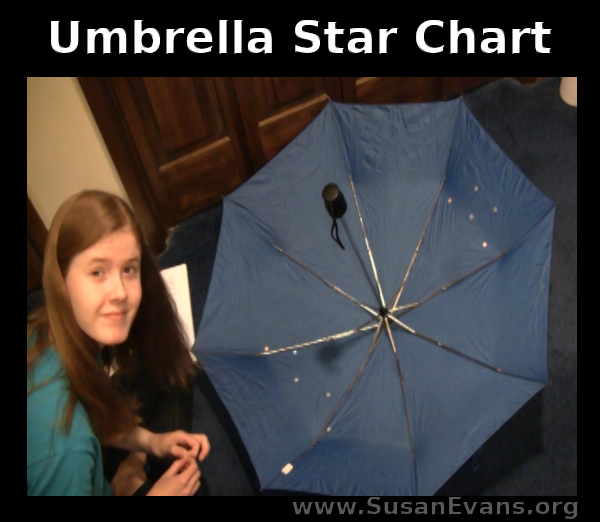
One super fun and relatively easy hands-on activitiy you can do with your kids when you are studying astronomy is to create this umbrella star chart. The person who originally created this activity is H. A. Ray, who wrote a groundbreaking astronomy book called The Stars. He took the complicated constellations and made simplified stick figures out of them, making the constellations more of a dot-to-dot rather than a complicated figure for each star pattern. This is a great activity to do to understand how the night sky rotates counterclockwise as the earth rotates, causing the illusion of the stars spinning around a central point, which is the north star.

The center of your umbrella (the handle) will be the north star. All the other constellations rotate around that star. So you can start with Cassiopeia, which looks like a W:

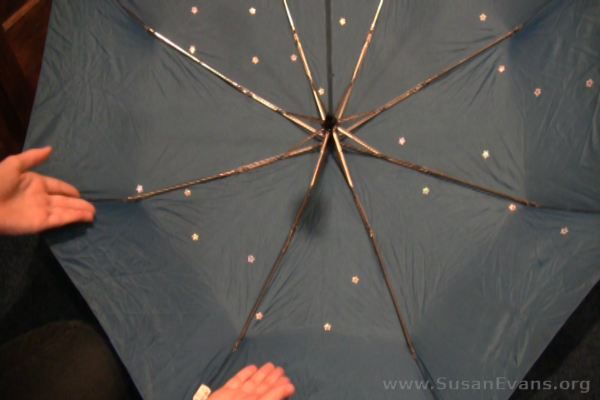
Take five silver star stickers, and place them on the umbrella in the form of a W to create the shape for the constellation Cassiopeia. Then spin the umberlla to the opposite side of the sky, and create the Big Dipper:

constellation-stickers-on-umbrella

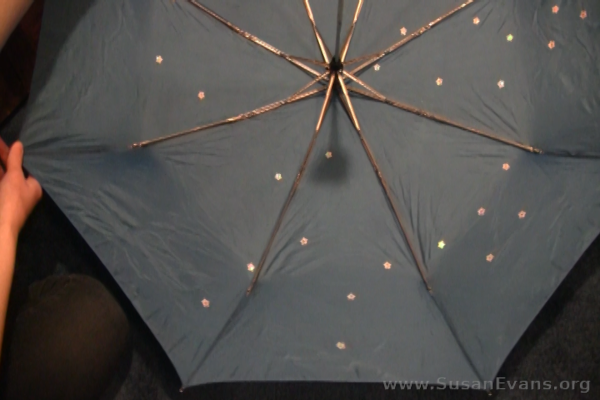
After placing those two constellations, spin the umberlla, and you will see how the sky rotates at night. This is why the constellations are not always seen in the same places. However, if you learn to always find Cassiopeia (the W), you will always be able to find the Big Dipper on the opposite side of the sky. Isn’t that cool?

Over the years, you can learn more and more constellations. You can add as many constellations as you want to your umbrella star chart. If you make the constellations smaller, you can fit in quite a few. We just placed some basic ones to give you the idea. The sky is the limit on what you can create on this star chart!

star-chart-on-umbrella

A great activity to do right after making this umbrella star chart is to get in your car and drive away from the city one clear night, to go looking for these constellations:

If you want to see some hands-on activities for elementary astronomy, here you go:

If you want to see our high school astronomy curriculum and some fun field trips we did, go here:

We have done so many more activites for astronomy over the years, which we have inside the Astronomy Unit Study article in the Unit Study Treasure Vault. Hope you enjoyed this activity as much as we did!