
This clay oil lamp craft is fun to make with your kids when you are studying Bible times, especially any stories that include lamps or lights, like the parable of the ten bridesmaids who were mostly not prepared for their bridegrooms. We should be prepared for the Lord’s coming, confessing our sin and abiding in the Spirit. We should also not hide our light, but let it shine to the world, not being ashamed of the gospel.
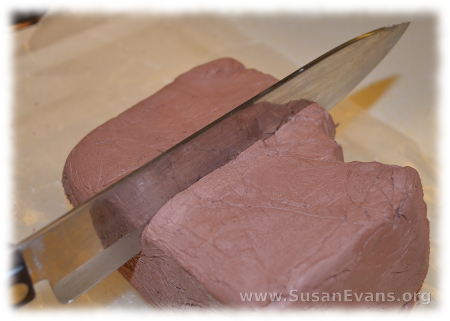
To make this craft, you will need terra cotta self-hardening clay. Cut the clay with a butcher knife to the desired size. Give each child a brick of clay, realizing that it doubles in size when you are forming an empty lantern. I like to put wax paper on the cutting board before cutting the clay, for easy clean-up.
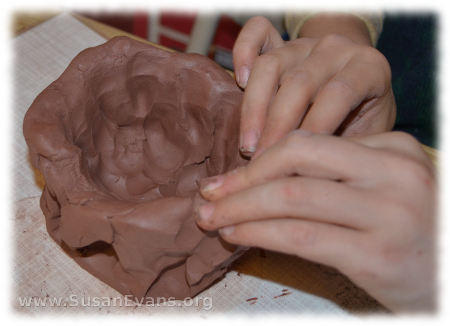
Next you will want to shape the block of clay into a bowl. Do this with your fingers. Make sure you have a plastic placemat under your work so that you don’t get clay on the table. You can also use wax paper.
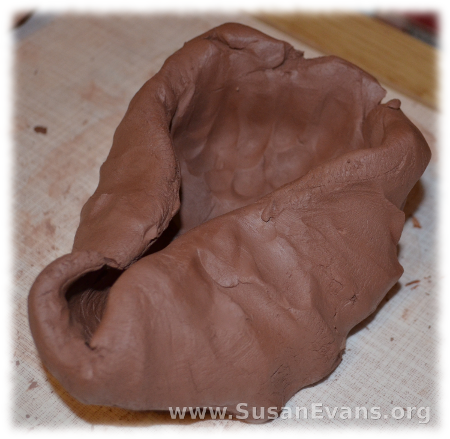
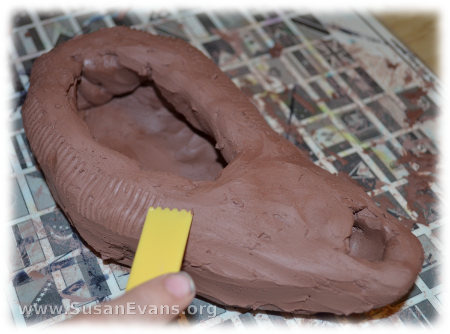
Squish the bowl into the shape of a Bible-time lantern. This means you will have a spout that is smaller, and a larger area in the back. Then join the clay together at the partition, and continue shaping it. If you want a handle, you can roll a fat snake by grabbing some extra clay and rolling it back and forth on the table with your hands. Connect it to the back of the clay oil lamp craft.
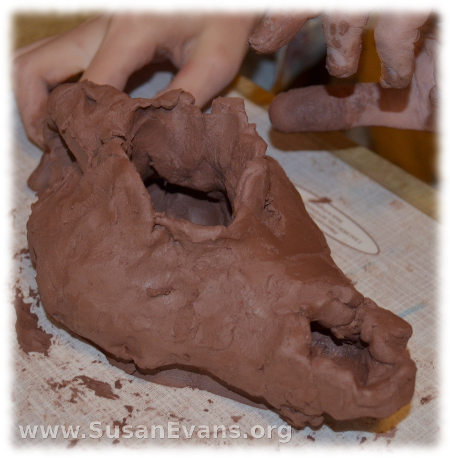
Now you will want to add embellishments. You can use a toothpick or any craft sculpting tools you have lying around. You could also use a table knife. Carve a pattern in the clay oil lamp craft. Make sure that before you add the decorations, you have smoothed down the clay to make it as non-lumpy as possible.
Now your clay oil lamp craft is complete! You will need to let it dry for a few days. If you actually want to light oil with a wick, you will need to use real clay (not self-hardening), and fire it in a kiln. This is much more expensive, but I suppose you could get a group rate to fire your lanterns in a local kiln. Otherwise you would have to brainstorm how to seal the self-hardening clay in another way, or place a small glass jar inside it with oil and a wick.
Sign up below for a free printable e-book of this Bible crafts series!
If you enjoyed making this clay oil lamp craft, you will love Using Simple Costumes and Props to Teach the Bible. You receive this 2-hour video for free when you sign up for the Unit Study Treasure Vault, which has an enormous Bible section that you will love!


