Posts Tagged ‘history’

Army Tank Cake

Monday, January 16th, 2017

tank-cake

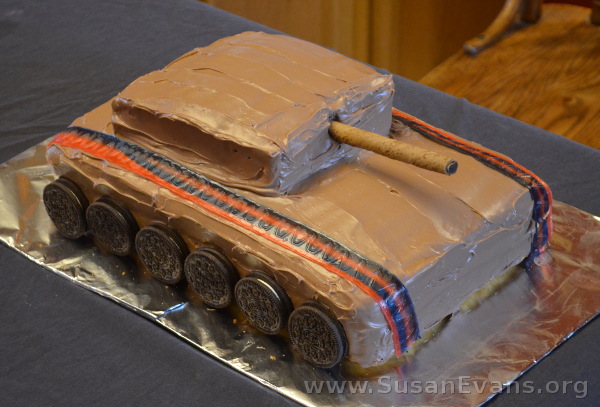
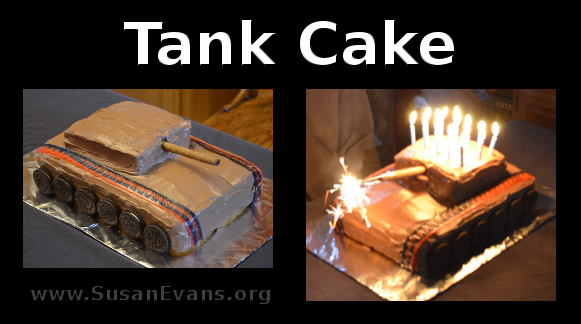
We created a fabulous tank cake to celebrate modern history. We lit it up with a sparkler in the barrel of the tank. It looked cool all lit up! This army party was perfect for my teen son’s birthday.

How to Make an Army Tank Cake

  1. We baked three rectangular cakes because we wanted the wheels to be the height of Oreo cookies. It depends what recipe you use for your cake, but we used two regular cake mixes for the base of the tank, stacking them after they were cooled off. Then we cut a square out of the third cake and placed it on the top of the tank.
  2. We frosted the whole thing with chocolate frosting. I’m sure we used at least two tubs of frosting from the grocery store. Don’t scrimp on the frosting.
  3. We placed Fruit Roll-ups along the sides of the tank cake, to make the tracks. Then the Oreo cookies were placed on both sides, on the edge. The barrel was a Pirouette. I wanted to be able to stick a sparkler into the barrel, which is why we didn’t use a Twix chocolate bar like we originally brainstormed. If you are not lighting the barrel with a sparkler, you could easily use a Twix chocolate bar.

army-party

How to Create a Centerpiece for an Army Party

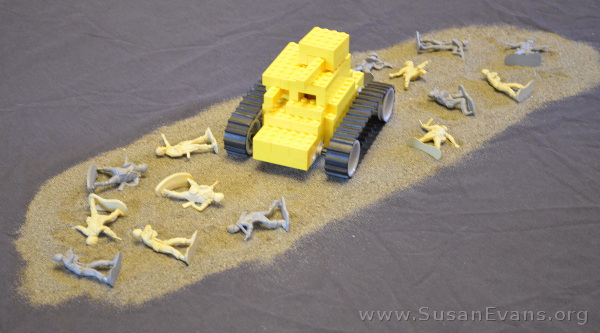
I threw down a black bed sheet onto the table and sprinkled some sand in the middle of the table. I placed a LEGO tank in the sand, and I sprinkled toy soldiers around like confetti. For more instructions on how to make this centerpiece, watch my tutorial: LEGO Tanks of World War II.

tank-centerpiece

Grenade Balloons for Decorations

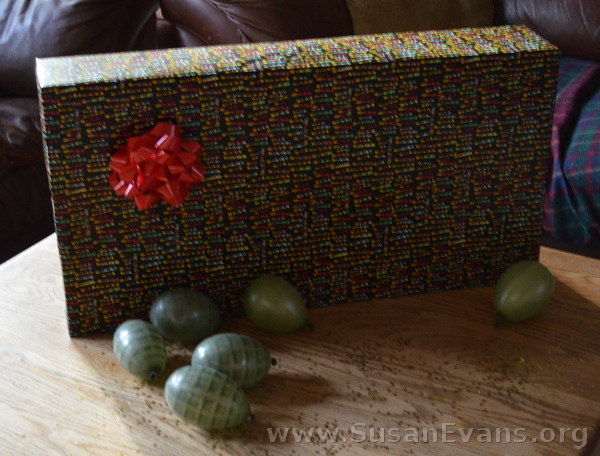
We decorated the room with grenade balloons, which I must say were extremely difficult to blow up. That’s because they were water balloons! If you are celebrating this army party in the summer, you could have outdoor activities involving grenade water balloons.

You can have your guests dress in camouflage if you want to make the experience even more authentic.

grenade-balloons

Tank Piñata

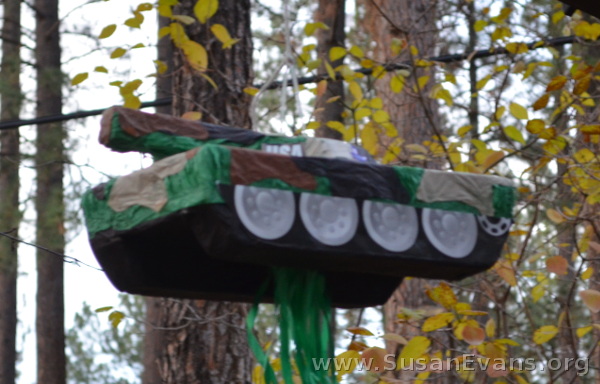
We also found a tank piñata, which was the reason my son chose this theme. (He saw this tank piñata hanging at the party store and wanted it.) Whacking a tank is very satisfying, especially for boys, making this a fun activity to end this army party!

tank-pinata

For more hands-on activities for modern history, check out my modern history unit study!
31 Days of Themed Cakes

Friday, September 30th, 2016

31-days-of-themed-cakes

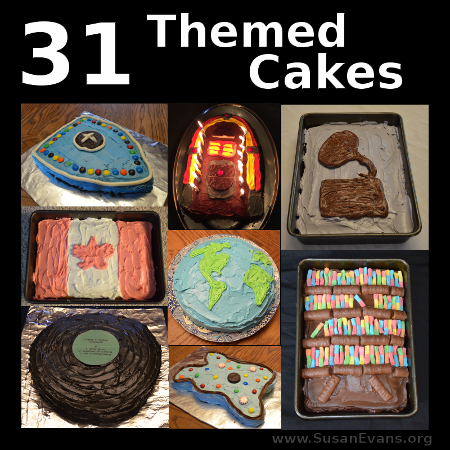
Here are 31 days of themed cakes to enhance your history, science, geography, and Bible lessons! Talk about having your cake and eating it, too! The history cakes include iconic symbols from specific time periods, like a jukebox for the 1950’s and a gramophone for the 1920’s. Geography cakes feature maps, and Bible cakes bring to life stories and concepts from the Bible. The science cakes help to teach the anatomy of an amoeba, a skin model, or the solar system.

During the month of October, I will be posting each of the remaining cakes on this fun list, categorizing the cakes into the different academic subjects.

Cakes can be a great way to culminate a unit study, celebrating the completion of a topic in science or history. You can even go all out and have a themed party with decorations and invitations, all centered around the topic of study!

31 Days of Themed Cakes

History Cakes

Geography Cakes

Science Cakes

Language Arts Cakes

Math Cakes

Bible Cakes

Fun Cakes

Mound Cutaway with Strata

Monday, May 2nd, 2016

mound-cutaway-with-strata

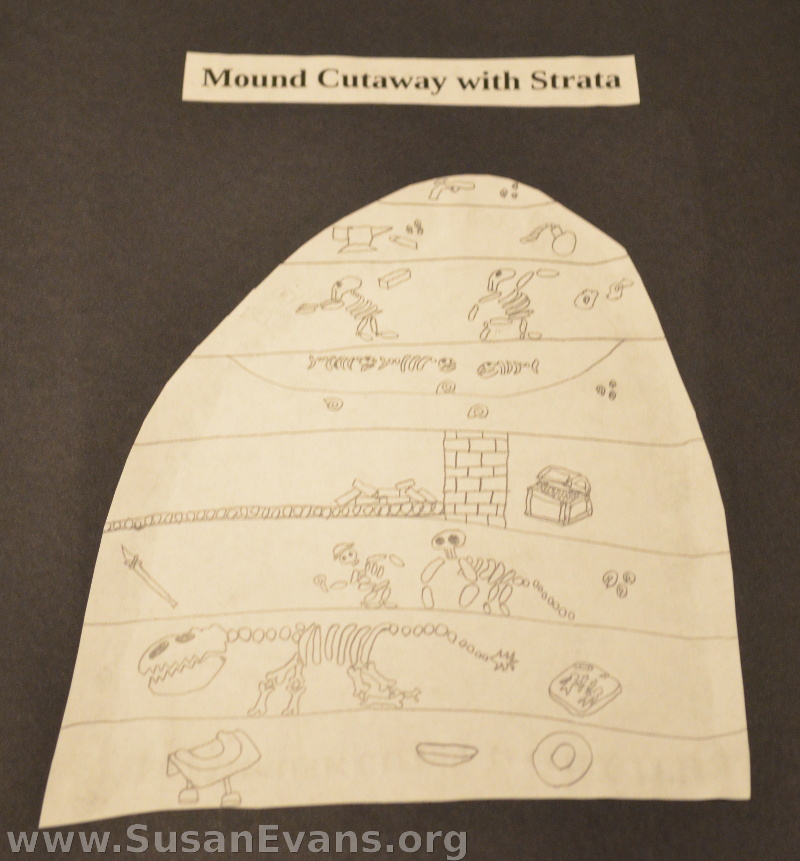
When studying ancient history, you can start by having your kids draw a mound cutaway with strata. Talk about archaeology, and how each layer represents different periods of time that you can excavate to discover the artifacts or items that were used in each culture. Usually the older civilizations are on the bottom, with the newer civilizations on top.

Of course, floods and volcanic eruptions mess up this theory because lots of layers are laid down pretty fast, and all during the same time period. Answers in Genesis has found modern items in the lower levels of dirt.

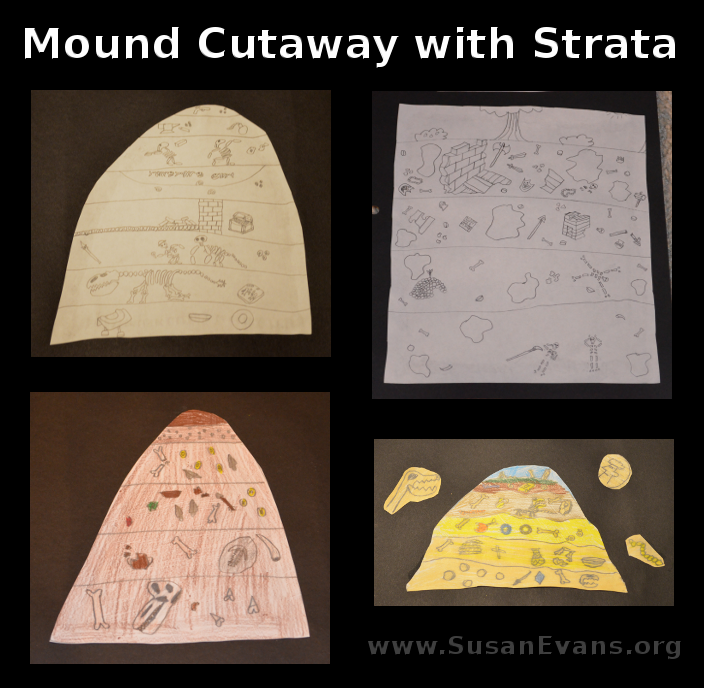
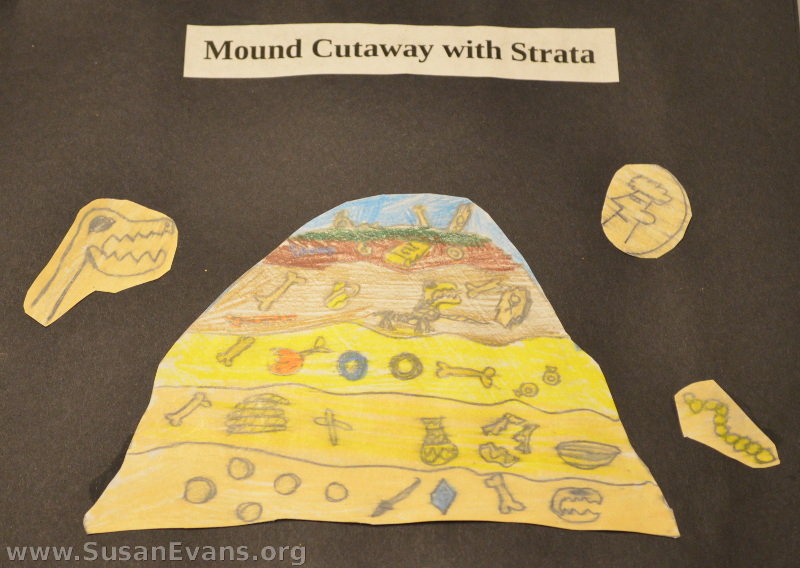
Each of my kids created a drawing of a mound cutaway with strata:

geologic column

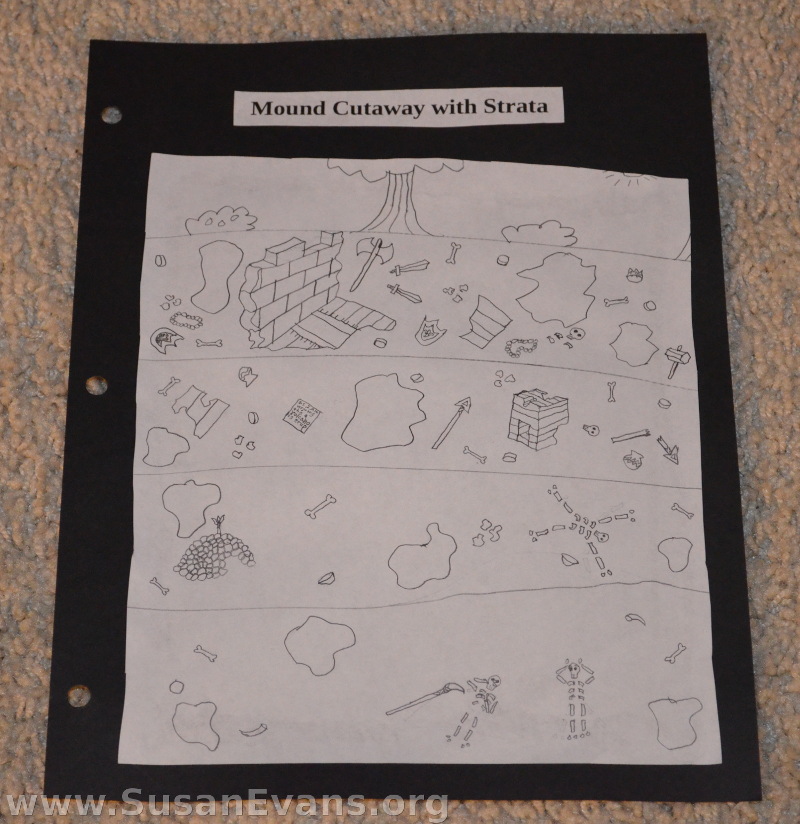
As you can see, there are fossils of various kinds in the different layers. There are also remnants of houses, pottery, jewelry, and weapons. My son drew a tree and some bushes at the top of the picture.

mound-cutaway

This cutaway is more of a mound. Dirt is at the top, so you wouldn’t notice that there were hidden civilizations under your feet. Seashells are found in various layers, along with fossils and bones. A dinosaur head is down in the oldest layer.

strata

These strata layers of rock are comical. The third layer from the bottom contains a man being chased by a dinosaur. Apparently a flood or volcanic eruption buried them rapidly so they are caught in the act. Once again, in a higher level of rocks, a man is throwing an object at another man, and somehow the flood waters buried both of them at the same time, freezing their actions for all eternity. An unfinished building is in one of the layers, along with buried pirate treasure.

elementary-geologic-column

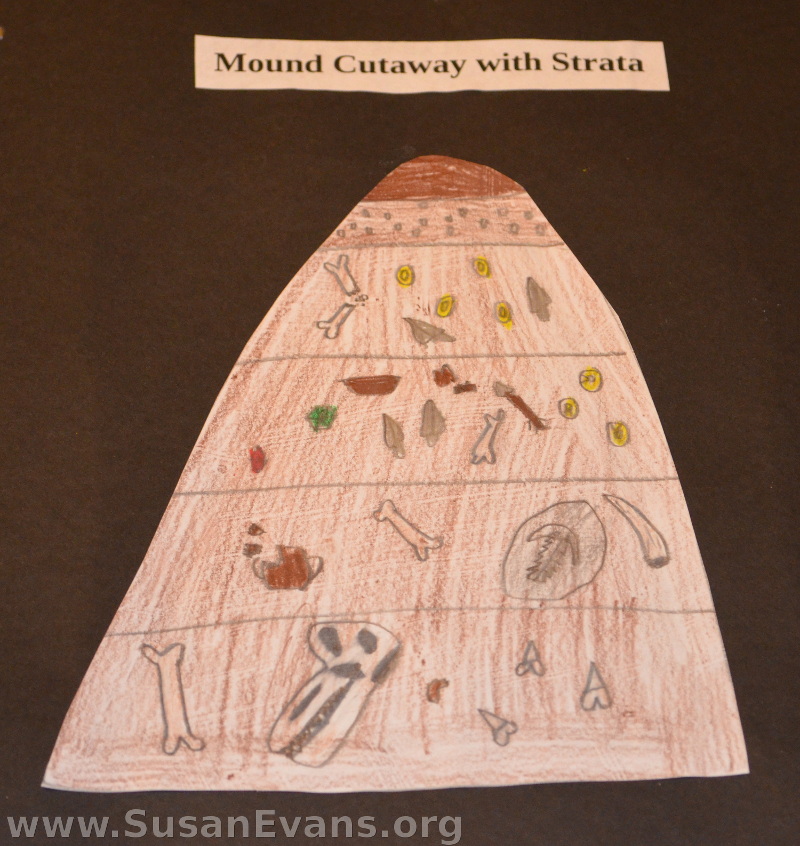
My daughter drew some fun layers of strata that included bones, coins, pottery, jewelry, and weapons. She highlighted some of the archaeological finds by drawing enlarged pictures and gluing them to the black card stock paper for her history notebook.

The kids had fun deciding what to place in each of their layers of rock while drawing their mound cutaway with strata.

Shield Cake

Monday, April 11th, 2016

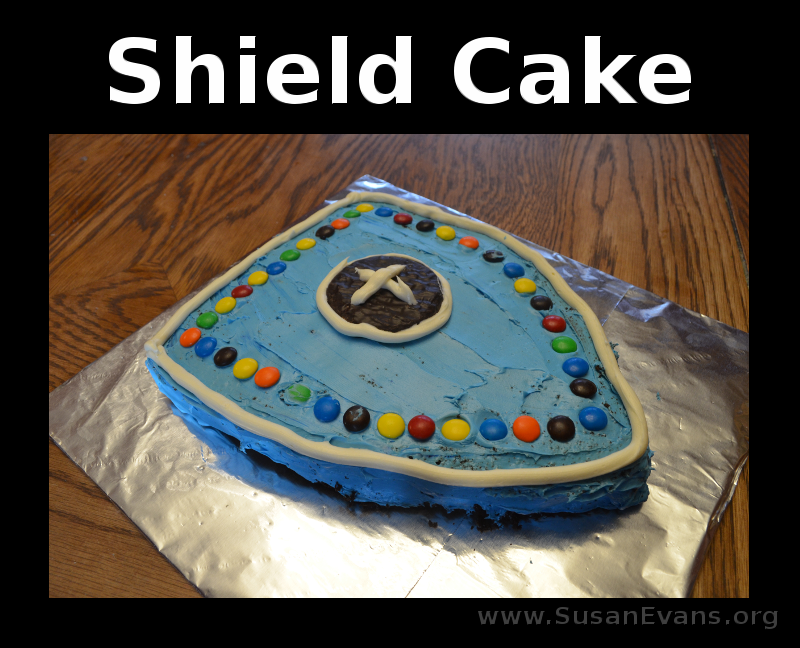
shield-cake

Instead of cooking a medieval feast as a culminating activity for a medieval unit study, why not bake this simple shield cake? You can have fun creating a coat of arms with candy on the top of the cake.

Begin by baking a rectangular cake, preferably chocolate. Cut one end of the cake into a triangular point. Then tape some foil to a piece of cardboard that is larger than the cake. Upend the cake onto the prepared foil.

Grab two tubs of white frosting, and tint one of them to be the background color for the shield. You can choose any color you want. Frost the entire cake, including the sides.

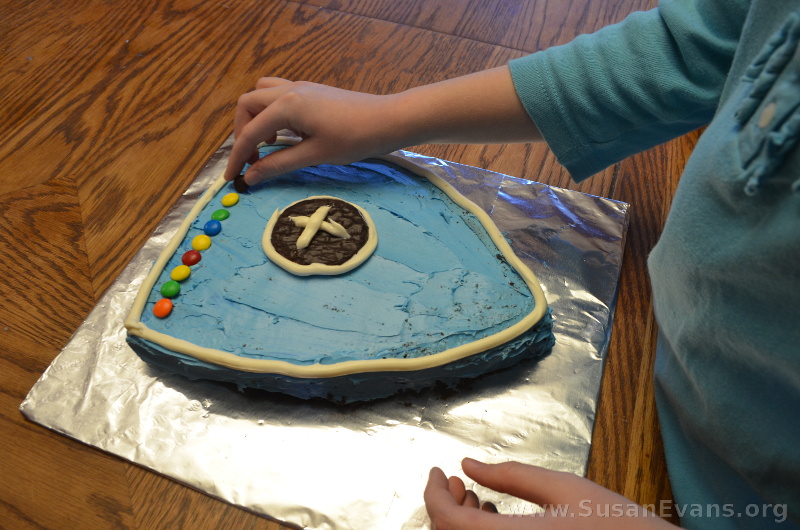
decorating-shield-cake

Now comes the fun part. Divide the second tub of frosting into different bowls, tinting them whatever colors you want to create your coat of arms, dragon, cross, or any other shape. Place the tinted frosting in a plastic Ziplock bag and snip off the corner. Draw whatever you want with the tinted frosting.

We used white frosting to frame the outline of the shield. We also outlined a Peppermint Patty and drew a cross in the center of it. You can now use whatever candy you want to embellish your shield cake. We used colorful M&M’s to go around the entire cake.

Now enjoy eating your medieval shield cake!