Play Doh
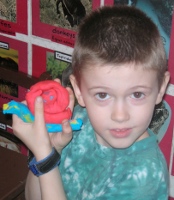
 Ever since I was little, I loved the squishy feel of Play Doh. You can mold it into any figure. Your imagination is the limit. I remember making spaghetti-looking hair by mashing it into a “machine,” and out came a square blob, or whatever shape you designated to come out. Play Doh is way softer than real clay, and much easier for younger hands to form. Teenagers and adults often sculpt with real clay, but they would do well to practice their design on Play Doh.
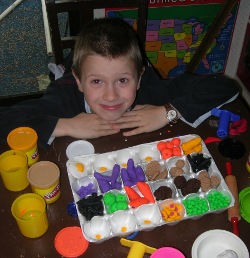
Making foods is one of the favorite pastimes of my children. They like having a clear plastic plate to work with. They can make a breakfast of eggs, bacon, and toast. They can sculpt a hamburger with french fries. They can make a steak, mashed potatoes, and peas. The peas take a while, but they are very satisfying and real-looking when they are finished. One time one of my children wanted to make an entire grocery store of food. I think he was inspired by Richard Scary's Big Book of Words. 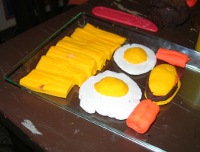 So I handed over a white egg carton, having cut off the lid. Wow, the children were in heaven as they worked away busily. All kinds of fruits and vegetables were created and displayed. It must have taken them hours, hours of a nice, quiet house where children's minds were engaged.
 We have managed to integrate Play Doh into our homeschool unit studies. When we were studying geography, we designed an entire world on a wooden board, including a waterfall, rivers, mountains, plateaus, caves, cliffs, islands, archipelagos, etc. It was a veritable paradise. I forgot to take pictures, but I realize that we must have used clay so that it wouldn't crack so much when it dried. You know, the clay that comes in sticks of different colors at the art store. But you can do the same with Play Doh.
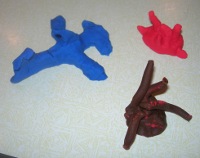 When we studied underwater sea creatures, we molded fish, whales, anemones, starfish, and sharks out of Play Doh. We put our fish into an underwater scene in a shoe box. You can even design seaweed out of Play Doh. When we studied botany, we designed flowers out of clay. We used construction paper for the petals and Q-tips for the stamen. It looked so cool. We also sculpted Venus flytraps, sundew plants, and pitcher plants. We bought each of these plants for real and put them into a humid terrarium. We could observe them and sculpt the carnivorous plants from real life.
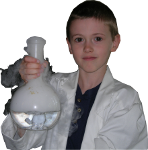
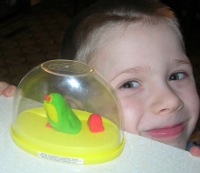 One time the children received a small display case for a Play Doh sculpture in their stockings for Christmas. After designing a unique masterpiece, they closed the clear oval dome over their sculpture so that it wouldn't dry out and crack. I thought that was a clever addition to our Play Doh tools.
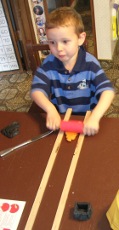 Then we came across the book Usborne Guide to Pottery, a thin, practical book that shows you simple visual steps in how to make pottery out of clay. First we tried making a slab pot. We rolled out uniform slabs of clay and connected them in a cube with the top open. Ta-da! Slab pot! Next we made a coil pot. We rolled the clay like a snake, then we stacked the “snakes” on top of each other (like O's) on a clay disc. After it's dry, you could put pencils in there, since it looks like a pencil holder. My kids liked to alternate colors like stripes. And last of all, we tried a thrown pot. We needed a pottery wheel for that. This time we definitely used clay and not Play Doh. But the reason I'm mentioning all this pottery is that younger children can make most of it with regular Play Doh with quite terrific results!