Posts Tagged ‘craft’

Roman Coins Craft

Monday, October 21st, 2013

Roman-coins-craft

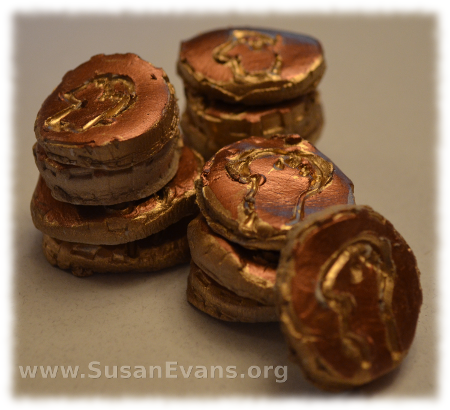
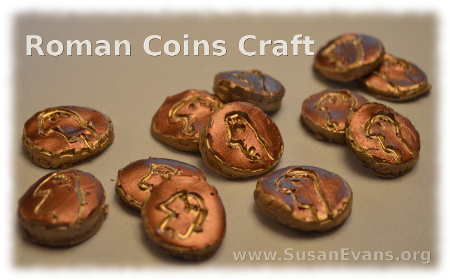
If you are studying Ancient Rome or the time when Christ walked the earth, you can make this Roman coins craft with your children.

You will need the following items:

  • white self-hardening clay
  • wax paper or plastic placemat
  • rolling pin
  • toothpick, butter knife, or sculpting tool
  • lid of a bottle
  • metal spatula
  • gold spray paint
  • newspaper
  • a copper leafing pen

Roman-coins-craft-3

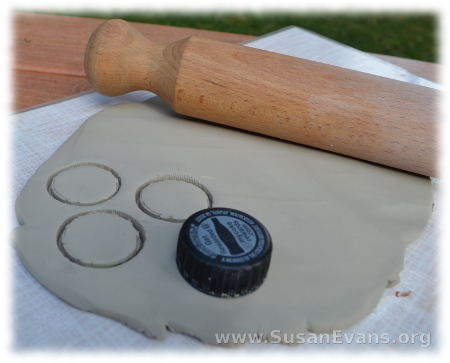
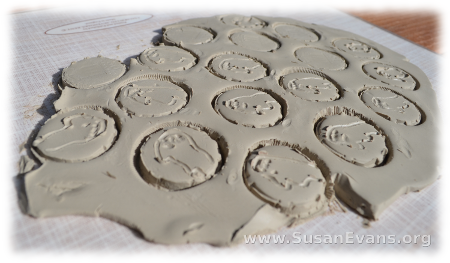
Start by rolling the white self-hardening clay out with a rolling pin. It helps if you have wax paper or a plastic placemat under it. With a bottle cap, stamp out some coins. If you want larger coins and smaller coins, you could use 2 or 3 different sizes of lids. Just look in your refrigerator, and take a lid off something.

Roman-coins-craft-4

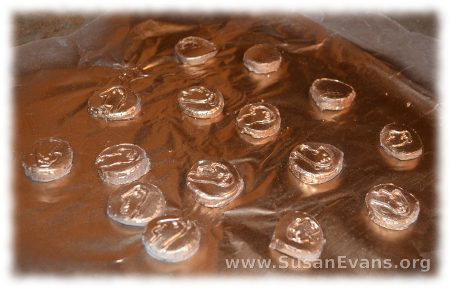
Grab a toothpick, a butter knife, or a sculpting tool and carve a picture of Caesar on your coins. Using a metal spatula, remove each coin and place on wax paper to dry for 2 days.

Roman-coins-craft-5

Spray paint the coins a gold color. Let dry for a day. With the copper leafing pen (which I bought at Fred Meyer for a couple of dollars), color the top of the coin, so that the grooves are lighter than the top of the coin. Let it dry. You are now finished with your coins, and you can play with them.

Roman-coins-craft-2

You can use this Roman coins craft to illustrate many Scriptures referring to coins:

  • The widow who put in 2 mites to the coin collection at the Temple, and Jesus said that she had given more than anyone else because she gave everything she had.
  • The woman who lost a coin and swept her entire house to find it, and was overjoyed when it was found. That’s how the angels rejoice when a person is saved.
  • Any number of times that Jesus talked about money. The love of money is the root of all evil, and the rich young ruler couldn’t be saved because he loved money more than Jesus.

If you liked this Roman coins craft, you will love Using Simple Costumes and Props to Teach the Bible. You receive this 2-hour video for free when you sign up for the Unit Study Treasure Vault, which has an enormous Bible section that you will love!
Fiery Furnace Craft

Thursday, October 17th, 2013

fiery-furnace-craft

You can bring the story of Shadrach, Meshach, and Abednego in the book of Daniel to life by making this fiery furnace craft. You will need the following items:

  • shoebox
  • black paint
  • pencil
  • red, orange, and yellow card stock paper
  • hot glue gun
  • school glue
  • scissors
  • tape
  • red cellophane
  • three (or four) small toy men
  • flashlight

fiery-furnace-craft-2

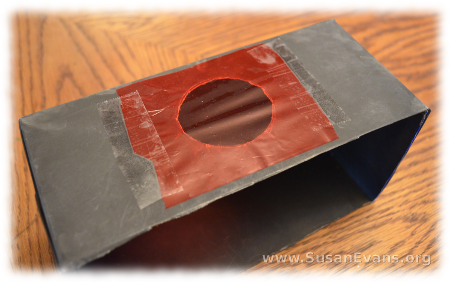
Paint the shoebox with black paint, and let it dry overnight. Using a large flashlight as a stencil, draw a circle in the bottom of the box. Make sure the box is on its side. Stab your scissors into the middle of the circle, and cut the circle out. Tape red cellophane over the hole on the outside of the box.

fiery-furnace-craft-3

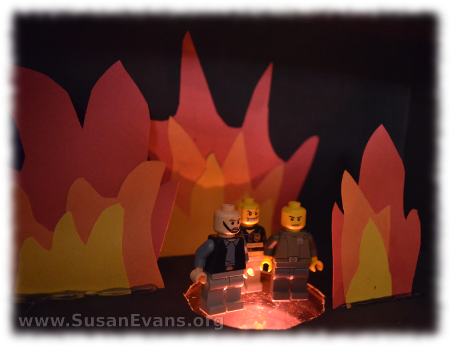
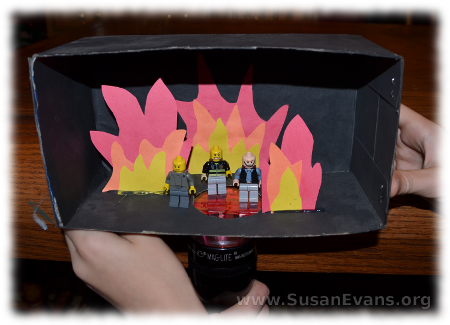
Cut out flames from the red, orange, and yellow papers, and glue them together with school glue. Hot glue the flames to the bottom of the box. Now place your three toy men into the box.Your fiery furnace craft is complete.

Tell the story of Shadrach, Meshach, and Abednego from the book of Daniel, adding a fourth toy figure at the end of the story. Yes, Jesus Himself showed up in the fiery furnace to protect these men from being killed.

Through this story, God shows us that we do not need to be afraid when we obey God. These men refused to bow down to any other god, and even though it infuriated the king, they obeyed God. They trusted that God could save them from the furnace, “but even if He does not, we will not bow down to you, O king,”they said.

The furnace was so extremely hot that the people who threw them into the furnace died from the heat. This was a miracle. God rules the universe. He controls every atom, and fire does not burn unless God says so. We can trust God, that He will help us through difficult times through His presence with us.

Sign up below for a free printable e-book of this Bible crafts series!

If you enjoyed this fiery furnace craft, you will love Using Simple Costumes and Props to Teach the Bible. You receive this 2-hour video for free when you sign up for the Unit Study Treasure Vault, which has an enormous Bible section that you will love!
The Altar of Elijah

Tuesday, October 15th, 2013

the-altar-of-Elijah

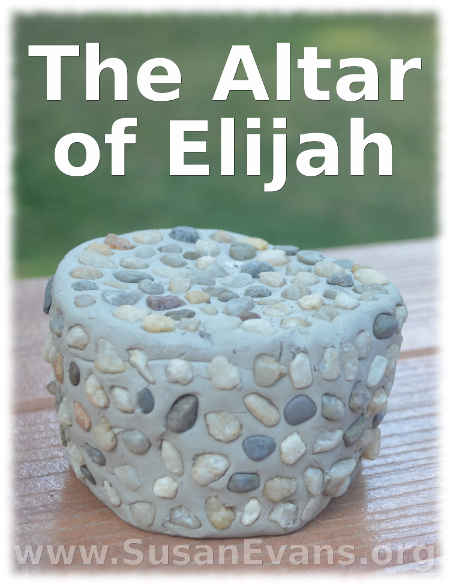
To make a craft of the altar of Elijah, all you will need is some white self-hardening clay and small pebbles. Roll the clay into the shape of an altar, like a short cylinder. Press the pebbles into the clay. You’re done! How easy was that? And great fun for all ages!

Now you are ready to tell the story of the altar of Elijah, found in I Kings 18:20-39. The priests of Baal try to get their god to accept their offering by having fire come down from heaven. It never happens, even when they cut themselves to indicate that they are dedicated to their god. Elijah insults them by telling them to yell louder, that maybe their god is taking a nap.

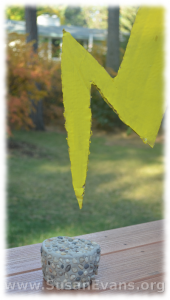
the-altar-of-Elijah-2Finally at the end of the day, it’s Elijah’s turn. He tells the people to pour four pitchers of water on top of the altar three times, as well as digging a trench around the altar. The entire trench is full of water. He prays once, and fire thunders down from heaven, consuming the entire sacrifice and licking up all the water. The people fall down on their faces and say, “The Lord, He is God!”

Sign up below for a free printable e-book of this Bible crafts series!

If you enjoyed making the altar of Elijah, you will love Using Simple Costumes and Props to Teach the Bible. You receive this 2-hour video for free when you sign up for the Unit Study Treasure Vault, which has an enormous Bible section that you will love!
Joseph’s Coat of Many Colors

Tuesday, October 8th, 2013

Joseph's-coat-of-many-colors

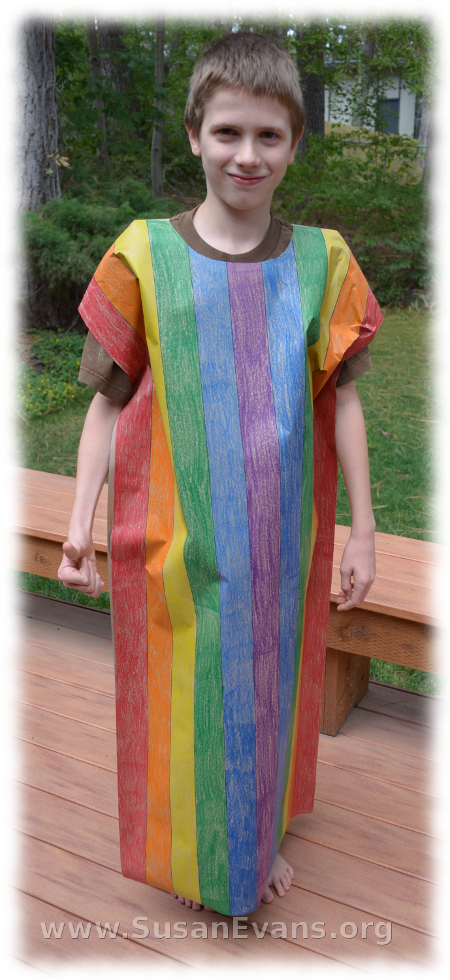
Joseph’s coat of many colors can be made easily with a large roll of paper and some crayons. You will also need scissors, a black marker, a ruler, and a stapler. I used a roll of brown packing paper, which you can find at office supply stores for around $5, but you can also use teacher’s bulletin board paper found at teacher supply stores. End rolls from newspapers are too thin for this project, tearing too easily.

Joseph-3

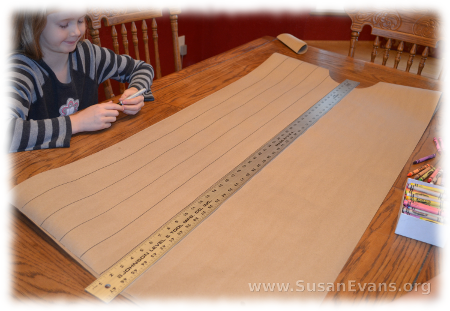
Check the height of the child who will be wearing this coat of many colors. Hold the paper up to his body, and cut it to whatever length you want. Fold the strip of paper in half before cutting. Then cut a hole at the top for the head.

Joseph-6

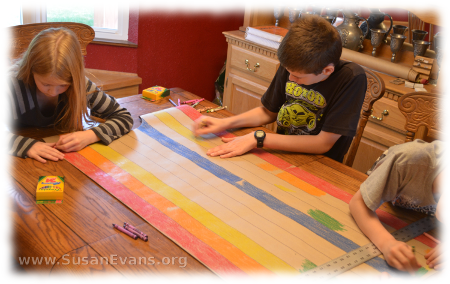
Grab a black marker and a long ruler, and draw stripes down the tunic. Have the kids color the stripes in different colors of the rainbow.

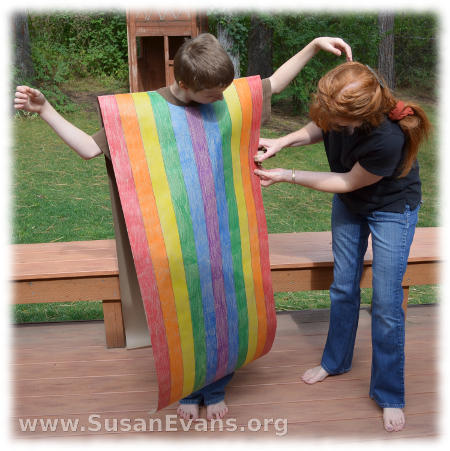
Have the child put Joseph’s coat of many colors over his head. He should hold his hands to his sides while you staple down the sides. Now smash the top of the tunic, putting the child’s arms down, wrinkling the top so that Joseph doesn’t have to look like a scarecrow. Joseph’s coat of many colors is now complete.

Joseph-7

Every time I read the story of Joseph in the last 13 chapters of Genesis, I get choked up because Joseph forgave his brothers for the horrendous suffering he had to endure for years because of their actions. His brothers had wanted to murder him. Just let that sink in. Imagine living in a house where people wanted to murder you. They had so much hatred because their father gave Joseph a coat of many colors, showing his favoritism. His brothers decided to make themselves some money, so they sold him as a slave instead of murdering him. They lied to his father, allowing his father to scream in anguish at the death of his son.

Years later, after working as a slave, being falsely accused and thrown into prison, and then rotting there for years, he was finally given a position of power in the government because he was able to interpret Pharaoh’s dream. He knew that there would be a 7-year famine in the land after 7 years of abundance, so he stored up grain.

His brothers came to Egypt because of the famine, only to find the one that they had injured now had the power of life and death over them! (The dream that Joseph had about his brothers bowing down to him came true!) But he chose to forgive them instead, telling them what they intended for evil, God intended for good. I just love this story of forgiveness!

Sign up below for a free printable e-book of this Bible crafts series!

If you enjoyed this Bible lesson on Joseph’s coat of many colors, you will love Using Simple Costumes and Props to Teach the Bible. You receive this 2-hour video for free when you sign up for the Unit Study Treasure Vault, which has an enormous Bible section that you will love!